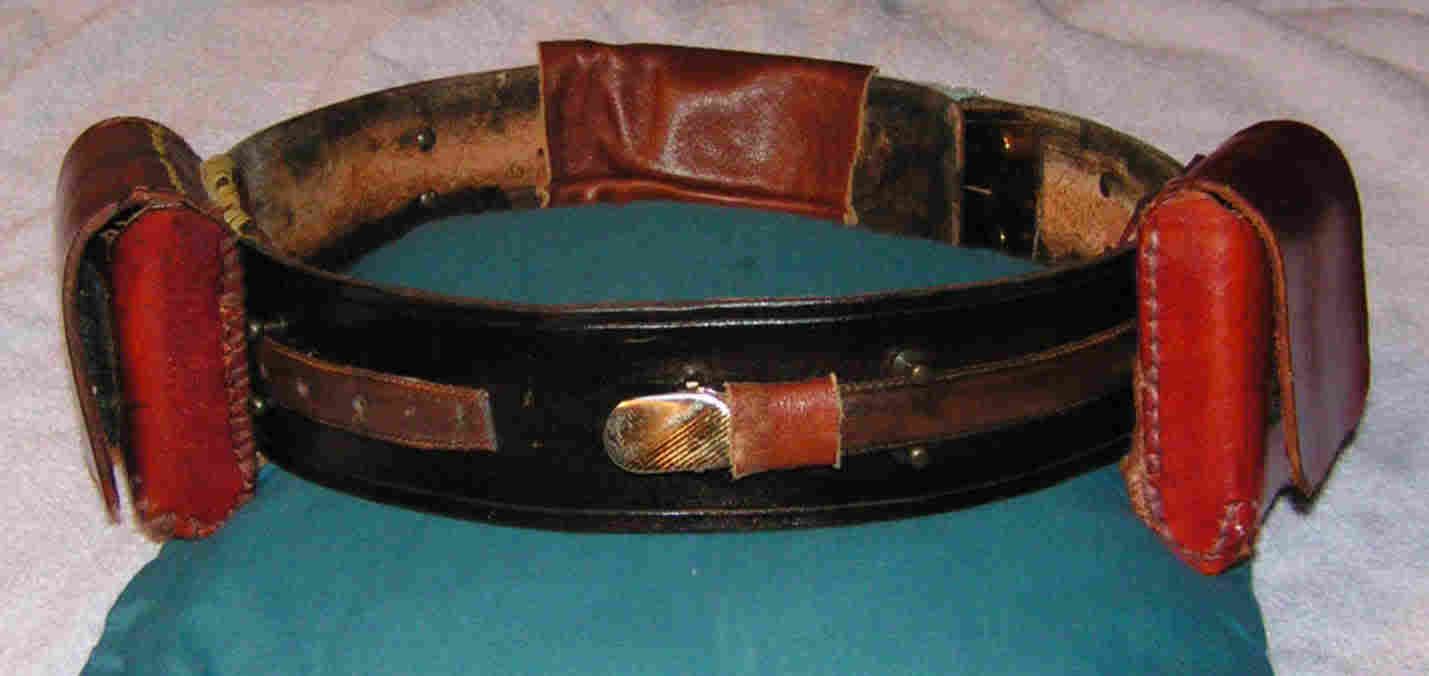
Post by Ani-Chay Pinn on Sept 20, 2006 21:35:15 GMT -5
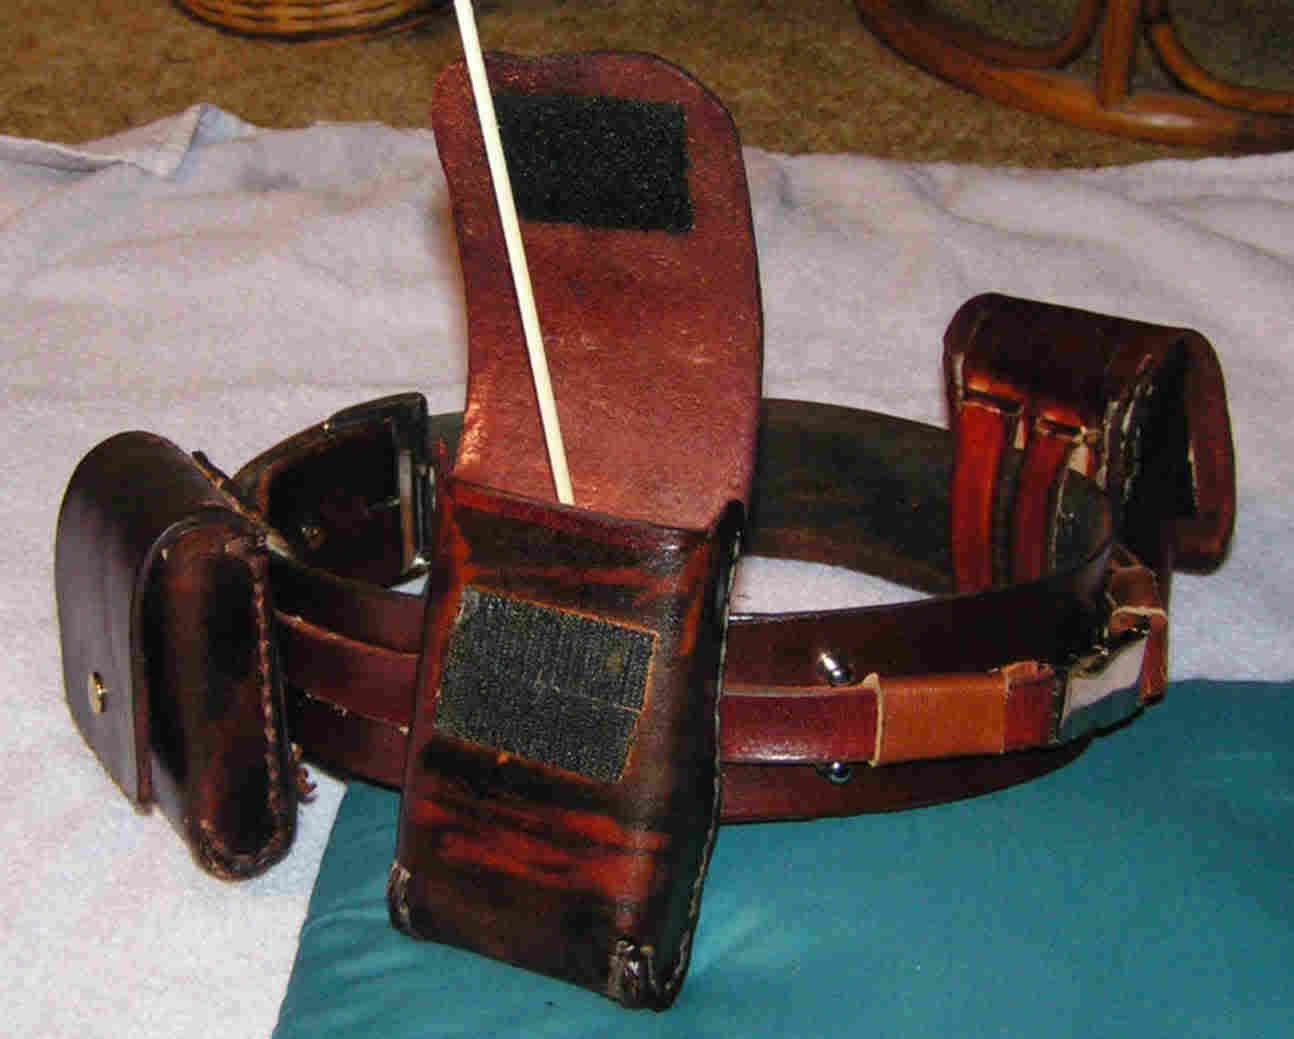
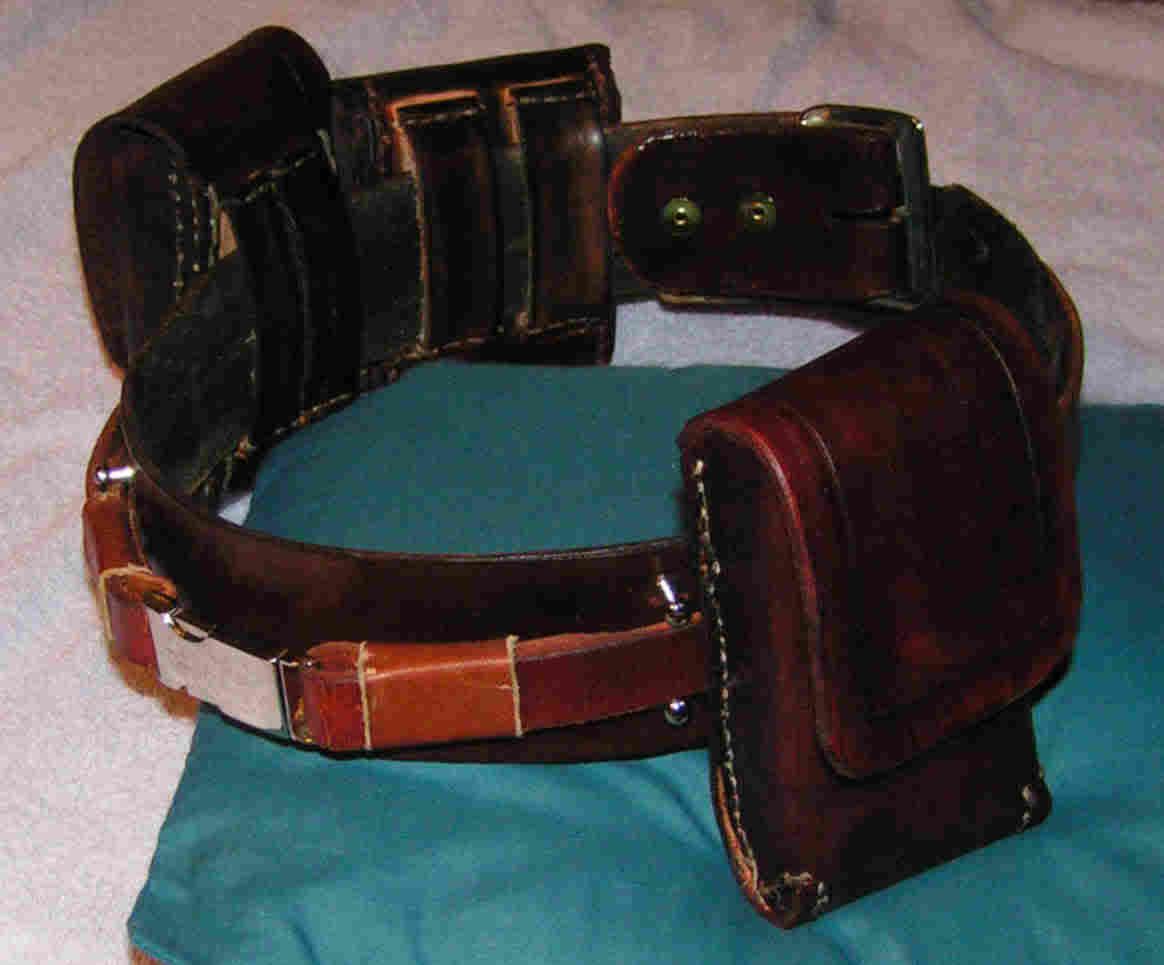
I made new pouches for DragonCon and inspite of some unintentionally creative stitching, they worked out reasonably well, though I need to put more glue on the velcro. Anyway, I used:
TND's Leather Pouch Tutorial
...to start with and here are a few notes on what I learned.
Pattern: I recommend using the cardboard cutout pattern as shown in the tutorial. Works great!
Leather weight: I used 8-10 oz weight leather. The same weight as for a belt. It is a little heavy to work with, but I had a whole side of a cow that I got from Tandy (because I made some belts), so I wanted to use it up. You must grove the edges of any sharp corners with leather that heavy, but the final pouch is very sturdy and if you have snaps, they close very well, even when you don't have anything in them. Snaps work very well with heavier leather. I used snaps on some and velcro on others for closures.
Hole Making: I didn't have one of those three pronged punches, but an awl and a rubber mallet (and a leftover piece of leather on a board underneath) work well enough. Mark your holes before punching! And after I had hammered through the holes ones, going back and pushing the awl through the holes with the awl again from the other side was a BIG help tha made the sewing much easier.
Stitching: The heavier the leather, the further apart the holes can be spaced, saving much time and effort. DON'T put the holes too close together; the leather will tear between them. Rubbing your thread with wax for sewing (you can get from fabric stores in their notions section) can make it slide through much easier when stitching.
Snaps: Install only half the snap -- the part that goes on the body of the pouch first. Then sew the pouch together. Then install the cap part of the snap on the flap of the pouch. That way, you can line the two parts of the snap up properly, when the pouch is sewn together.


 But I am reassured by the third image. The narrow belt in that one doesn't look any more even than the others, but it's actually store bought.


